ワードプレスで自作テーマ作成-L12 サイドバーの見出しを整える-
ワードプレスで自作テーマ作成シリーズ
今回は「L12 サイドバーの見出しを整える」方法をご紹介します。
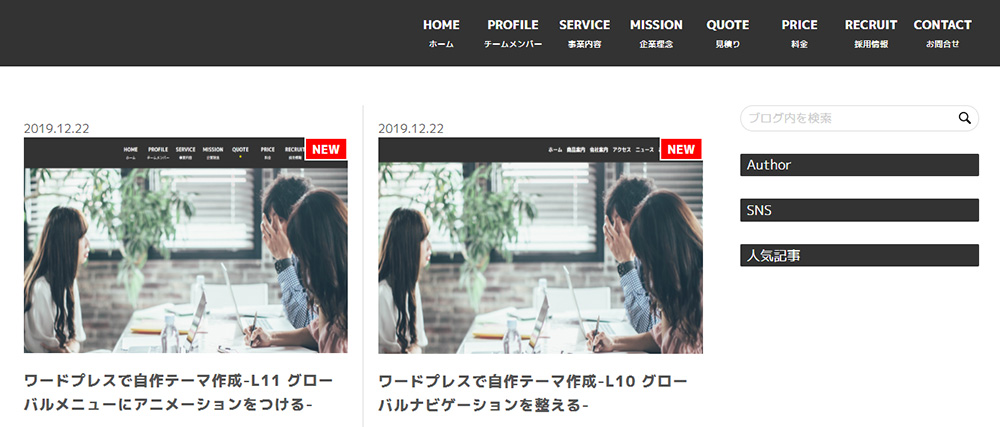
現状は上記画像のようになっていますが下記画像の様に見出しのデザインを整えます。
まずは検索ボックス下にマージンを入れる
まず、現状だと検索ボックスと見出しがくっついているので検索ボックス下にマージンを入れてスペースを入れます。
Lesson8で検索ボックスを作った際にCSSに以下のように記述しました。
#searchform {
position: relative;
}
これにmargin-bottom: 30px;を付け足し以下のように記述します。
This file contains bidirectional Unicode text that may be interpreted or compiled differently than what appears below. To review, open the file in an editor that reveals hidden Unicode characters.
Learn more about bidirectional Unicode characters
#searchform { | |
position: relative; | |
margin-bottom: 30px; | |
} |
sidebar.phpの編集
「sidebar.php」の記述を以下に書き換えてください。
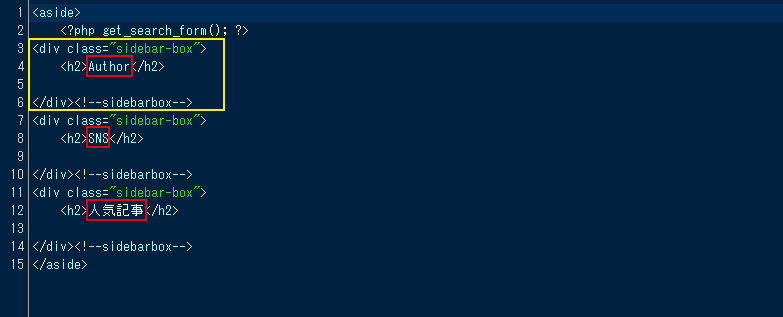
今回はサイドバーに3つの項目(Author、SNS、人気記事)を作りました。項目名を変えたい場合は赤枠部分を任意の項目名にしてください。項目を増やしたい、減らしたい場合は黄色枠部分の記述を増やす、または削除してください。
また、各項目をsidebar-boxというクラスで囲みました。これにより今後マージンを付けたりと作業しやすくなります。
style.cssの編集
「style.css」に以下を記入してください。
This file contains bidirectional Unicode text that may be interpreted or compiled differently than what appears below. To review, open the file in an editor that reveals hidden Unicode characters.
Learn more about bidirectional Unicode characters
aside h2 { | |
background-color: #333; | |
color: white; | |
font-weight: normal; | |
font-size: 18px; | |
padding: .1em .5em; | |
border-radius: .1em; | |
margin-bottom: 30px; | |
} |
サイドバーの見出しが以下のように整えられました。
コメント